Hey there, battery enthusiasts! Ever thought about build lithium batteries? Building a 12V 3000mAh lithium battery can be a fun and rewarding project. Not only will you learn a lot, but you’ll also have a custom battery pack for your gadgets. Let’s dive in and get our hands dirty!
Tools and Materials for build lithium batteries
Before we get started, let’s gather our tools and materials. Here’s what you’ll need:
- Six Lithium-ion cells (18650 cells work great)
- Battery Management System 3S (BMS)
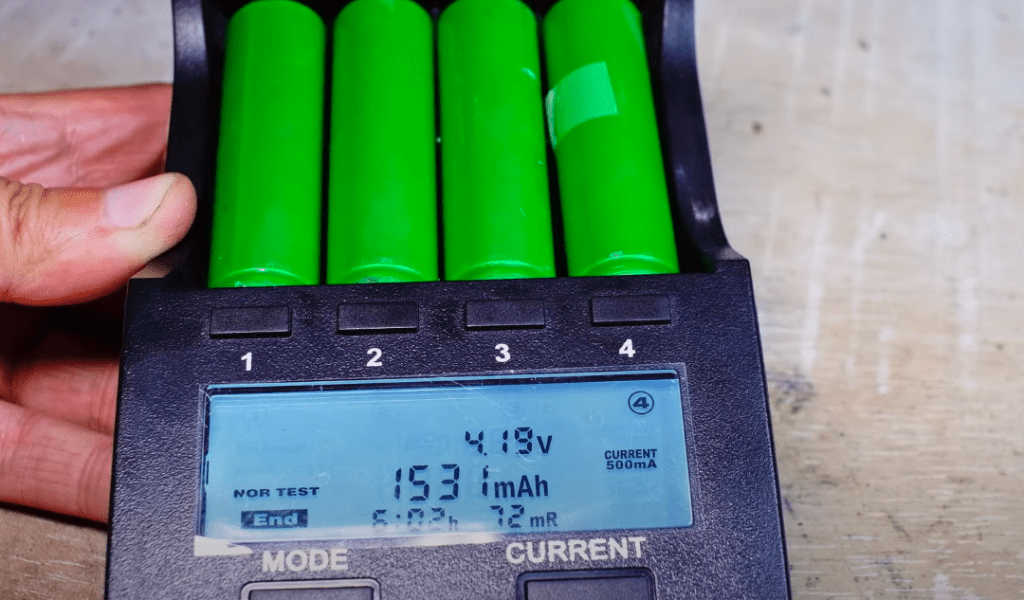
- 18650 battery tester (like Liitokala Lii 500)
- Nickel strips
- Holder for 18650 cells
- Soldering iron
- Spot welder
- Heat shrink tubing or electrical tape
- Wire (AWG 18 or similar)
- Multimeter
- Charger 12.6 for BMS 3S
- Safety gear (gloves, goggles)
Step-by-Step Guide
Prepping the Cells
First things first, make sure your lithium-ion cells are of the same capacity and charge level. This ensures even charging and discharging. Use the multimeter to check each cell’s voltage. Aim for all cells to be within 4.20V of each other.
In my case, I brought six cells with a capacity of 1500mAh each and checked them using the Liitokala Lii 500 device.

Arranging the Cells
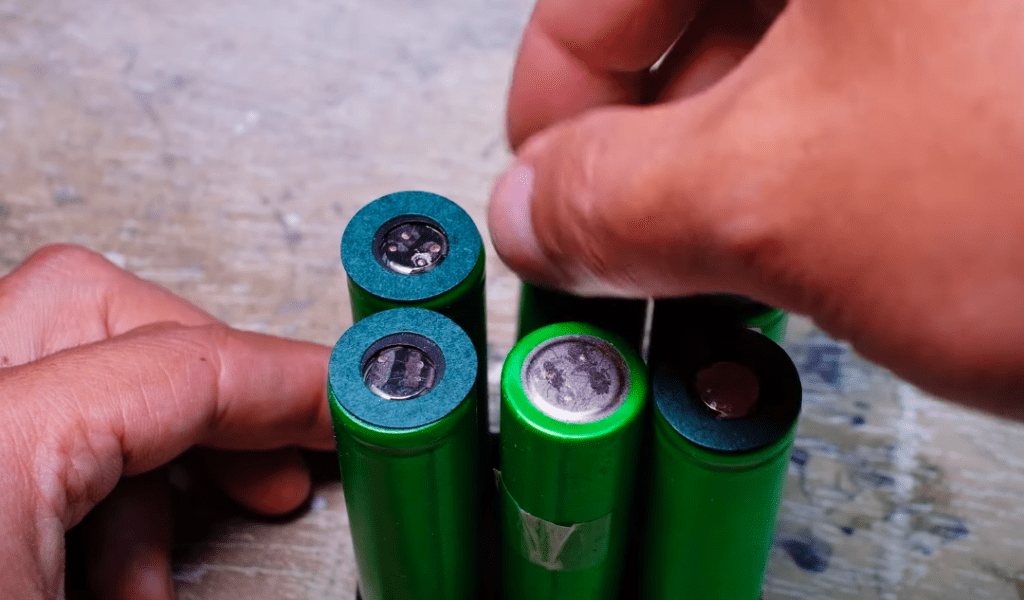
To build a 12V battery 3000mAh, we’ll need to connect two cells in Parallelism, And the rest of the cells in series. A 12V battery typically needs around three 3.7V cells in series (each cell at 3.7V nominal, fully charged to 4.2V, fully discharged to 3V).
- Line up four cells side by side.
- Secure them with a holder.

Connecting the Cells
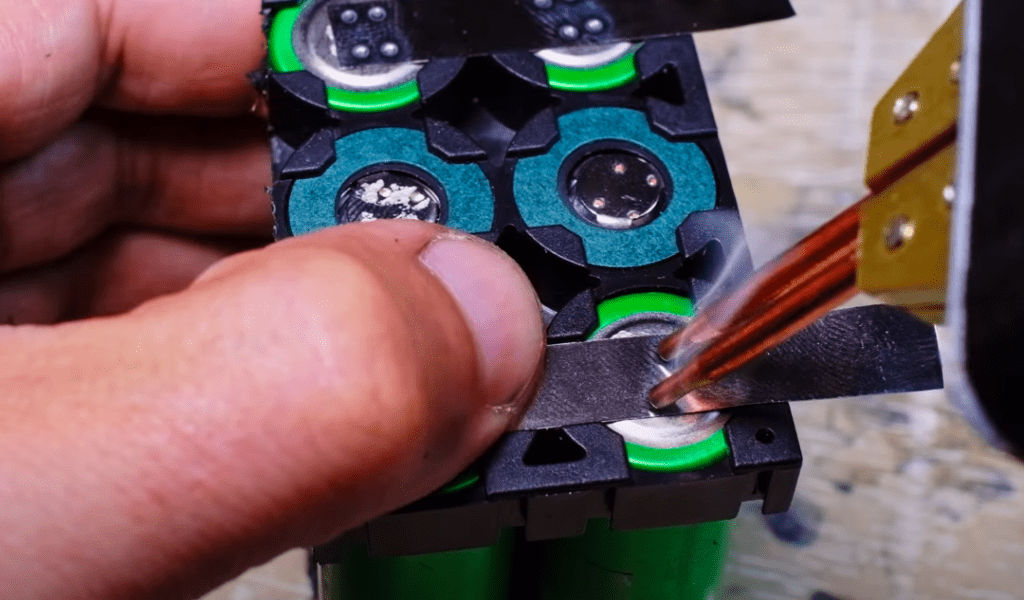
Now, let’s connect the cells using nickel strips and a spot welder. If you don’t have a spot welder, a soldering iron can’t do the trick, don’t use a soldering iron.
- Spot weld (or solder) the nickel strips to connect the positive end of one cell to the negative end of the next. This creates a series connection.
- Repeat until all three cells are connected in series.

Adding the BMS
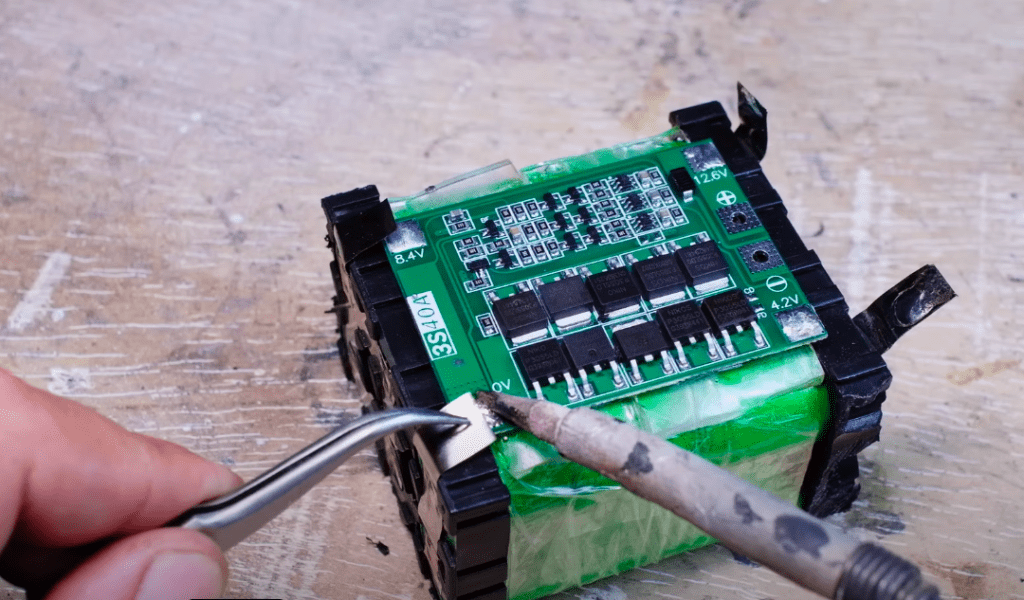
A Battery Management System (BMS) is crucial for safety. It ensures the cells charge and discharge evenly, preventing overcharging or deep discharging.
- Solder the BMS 3S wires to the appropriate cell connections: B+ to the positive end of the series, B- to the negative end, and intermediate connections to the points between cells.
- Secure the BMS to the side of the battery pack with tape or heat shrink.

Final Touches
Once the cells and BMS are connected, it’s time to secure everything.
- Use heat shrink tubing or electrical tape to wrap the entire battery pack. This adds a layer of protection and keeps everything in place.
- Check all connections one more time with the multimeter. Ensure the pack reads around 12V.
Testing Your Battery
Safety first, folks! Before using your new 12V 3000mAh lithium battery, give it a proper test.
- Charge the battery using a charger compatible with lithium-ion cells.
- Monitor the voltage and temperature. The BMS should prevent any overcharging.
- Once charged, test the battery with a load. A small 12V device like a light or a fan works well. Make sure everything operates smoothly and there are no unusual heat spots.
Tips for Success
- Safety Gear: Always wear gloves and goggles. Lithium-ion cells can be dangerous if mishandled.
- Work in a Ventilated Area: Soldering fumes and potential battery fumes should be avoided.
- Double Check Connections: A loose connection can ruin your day. Make sure everything is tight and secure.
Wrapping Up
Building your own lithium batteries is not only a cost-effective way to power your projects but also a fantastic learning experience. With a bit of patience and attention to detail, you’ll have a robust 12V 3000mAh battery pack or more ready for action.
So, what are you waiting for? Grab your tools, follow this guide, and dive into the electrifying world of DIY lithium batteries. Happy building!
educational video
If you have any difficulty understanding how to assemble lithium batteries, you can rely on this educational video.
